Being productive is nice to have for us as developers so we can make and solve our tasks easily or just quickly, so this time let’s make it easier if you love to use the terminal hand-to-hand with Xcode.
Many developers (including me) like to use the terminal for whatever reason when they are working on Xcode and although it might be a simple task to just open the terminal and then go to your current path you plan to be working on, it is tedious or just repetitive to do it day by day.
Creating the Script
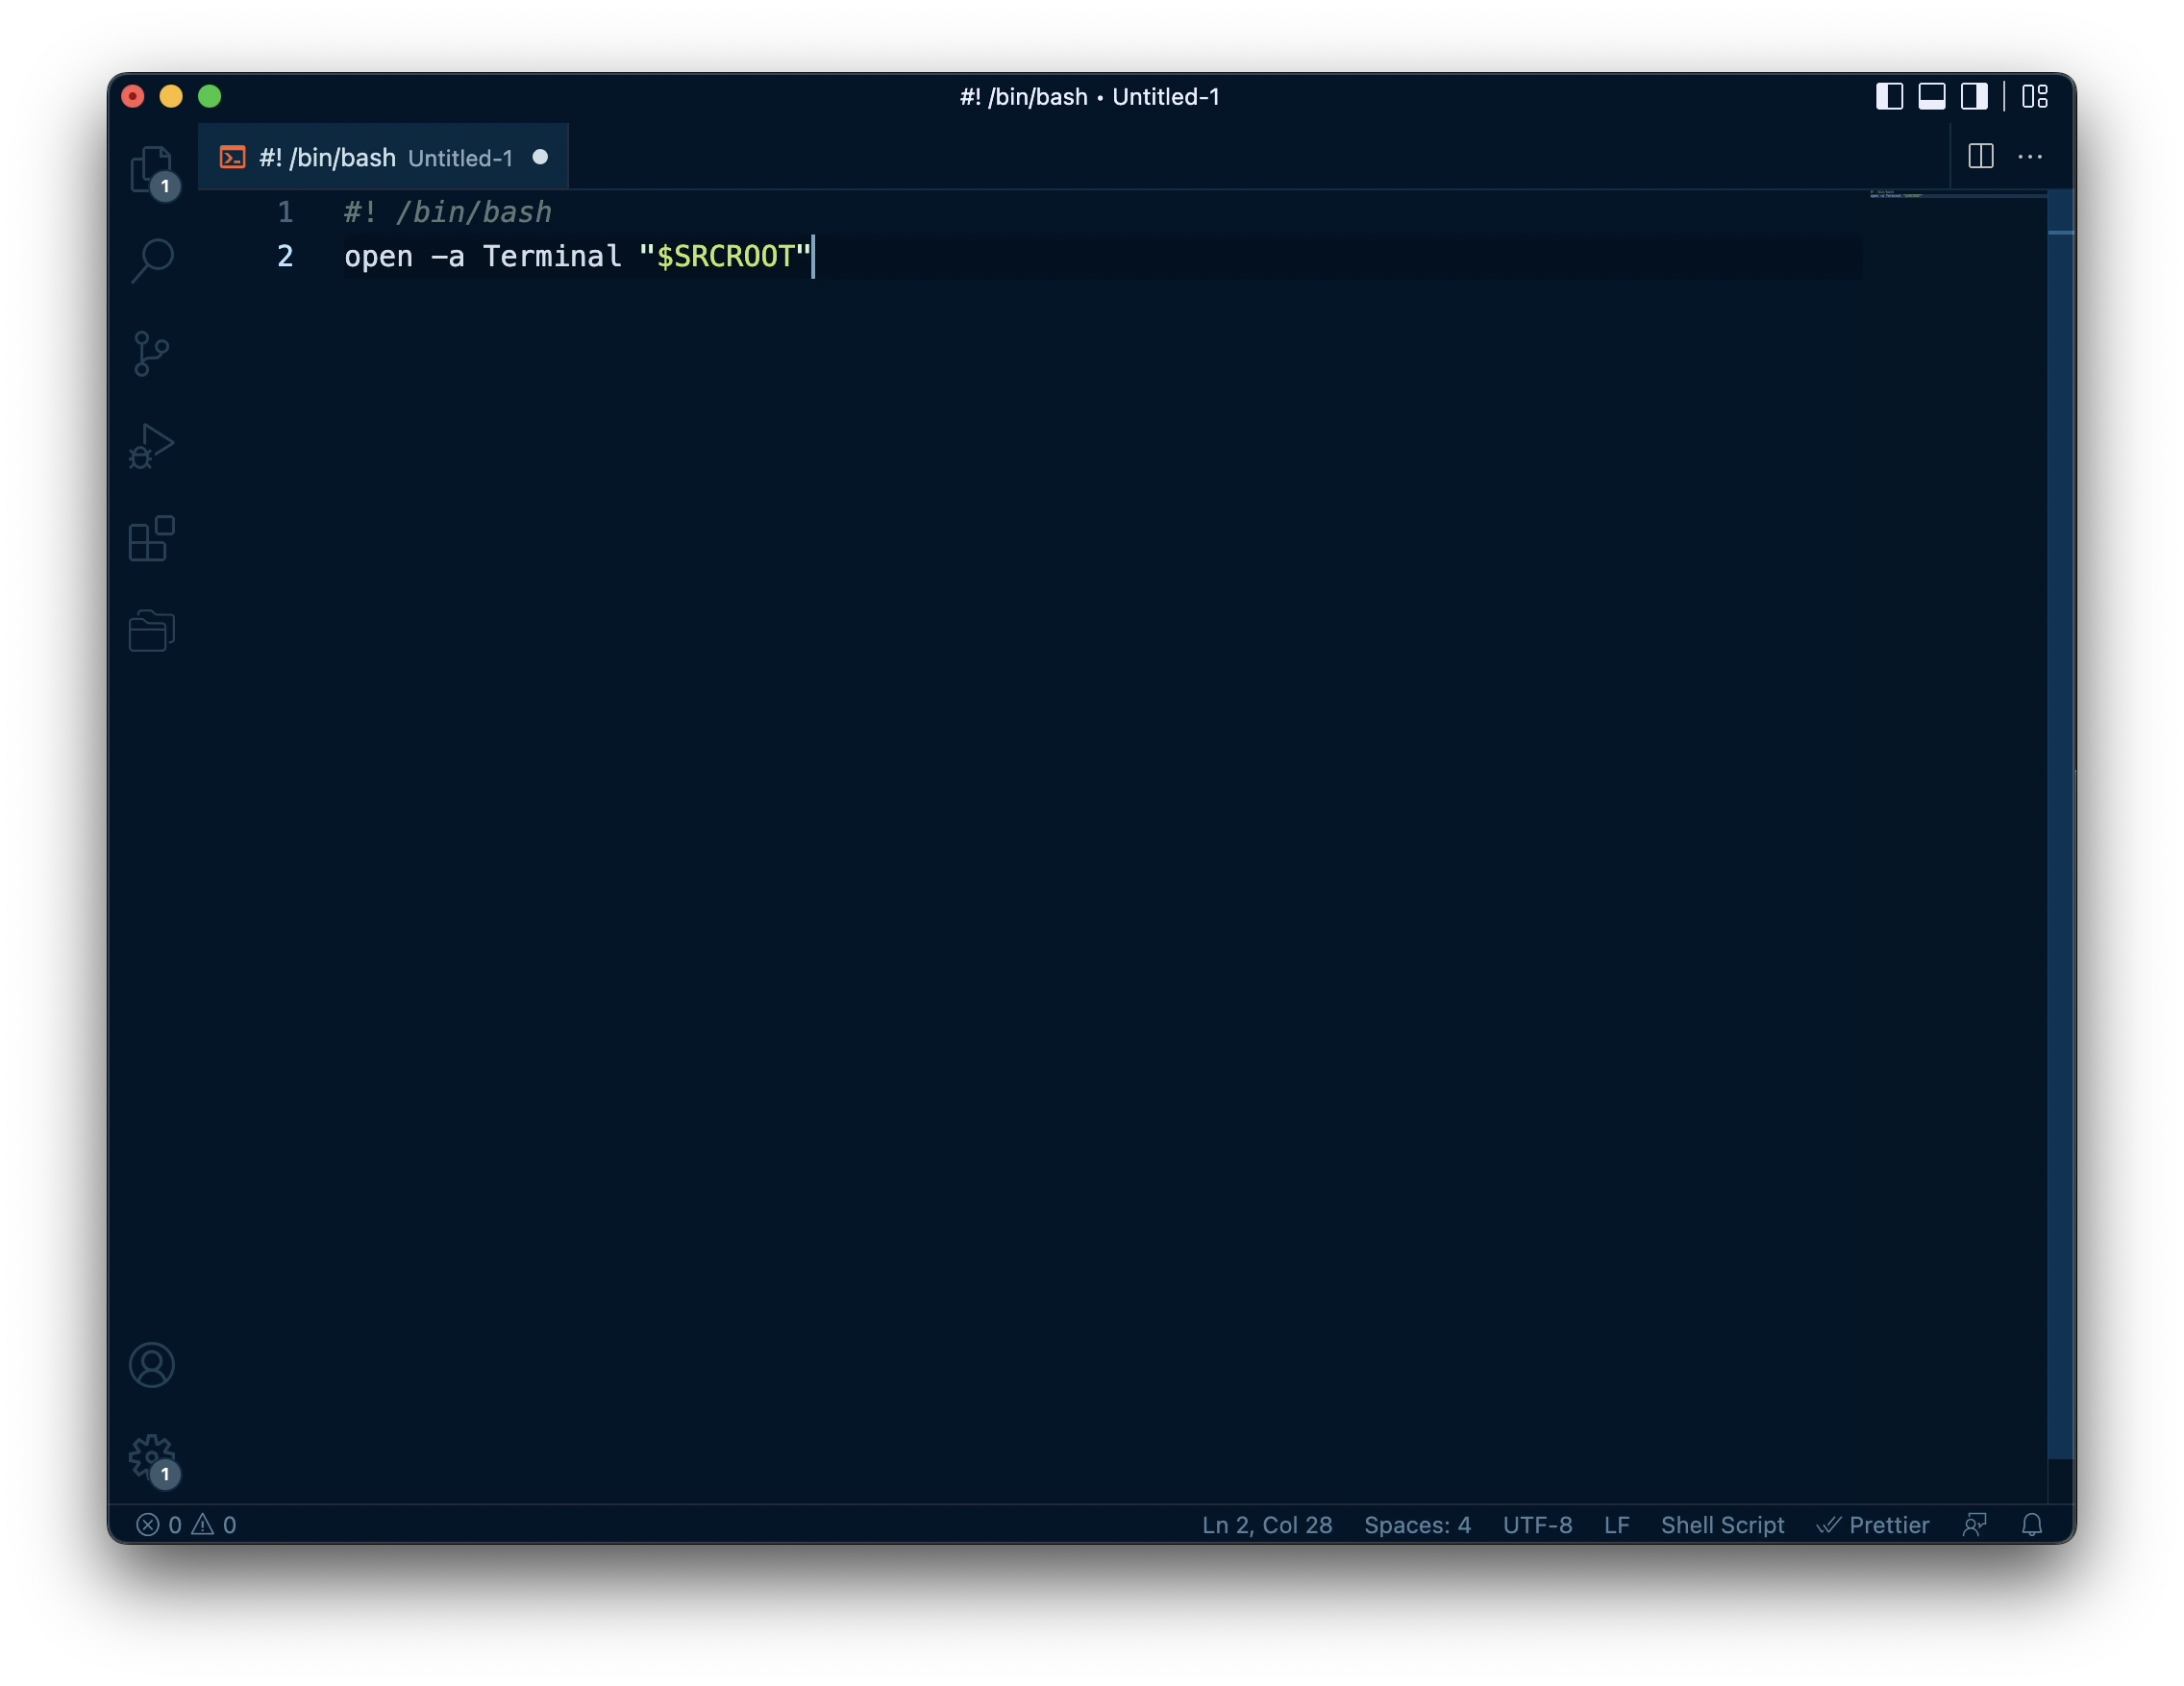
To open the terminal we are going to use a command that we are going to run via a script, this is the script we are going to use
 bash#! /bin/bash
open -a Terminal "$SRCROOT"
This is not a tutorial about scripts but let’s cover the basics of them just to know what we are doing.
- The first line on the script that has the shebang command
#!helps us to instruct the operating system to use Bash as a default shell to run the script - The next line is the command where we want to open a specific application we do that using
open -a, the-aoption is to specify that we want to open an app, then the next is the app we want to open and in this case, we want to use Terminal. (If you want to use iTerm instead you can just replace Terminal with iTerm, easy right?) Finally is the path we want to locate the terminal at the time it opens, because we are going to use this via Xcode, we will go to the path that contains the target’s source file.
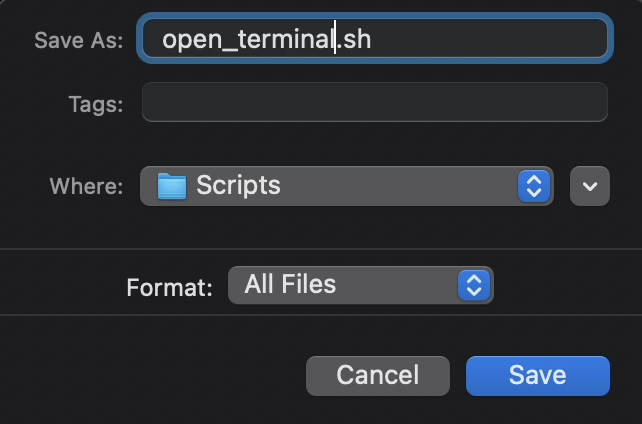
You can use any app you like to create files/documents, you can save the file in whatever way you want.
Just remember to use the .sh extension to identify it as a script.
Execution permission
Creating a script is not enough we need to permit it to be able used, otherwise, we are not going to be able to select it on Xcode.
So you’ll need to open Terminal (or iTerm if that’s the case), go to the path where you saved your Script
You write cd and add a space, then just drag and drop the file into the terminal, remove the name of the file on the path that is filled automatically, and press Enter
Once there type the following command
bashchmod +x <file_name>.sh
chmodis the command to change the access permission of files or directories+xis the option to allow the file to be executed.
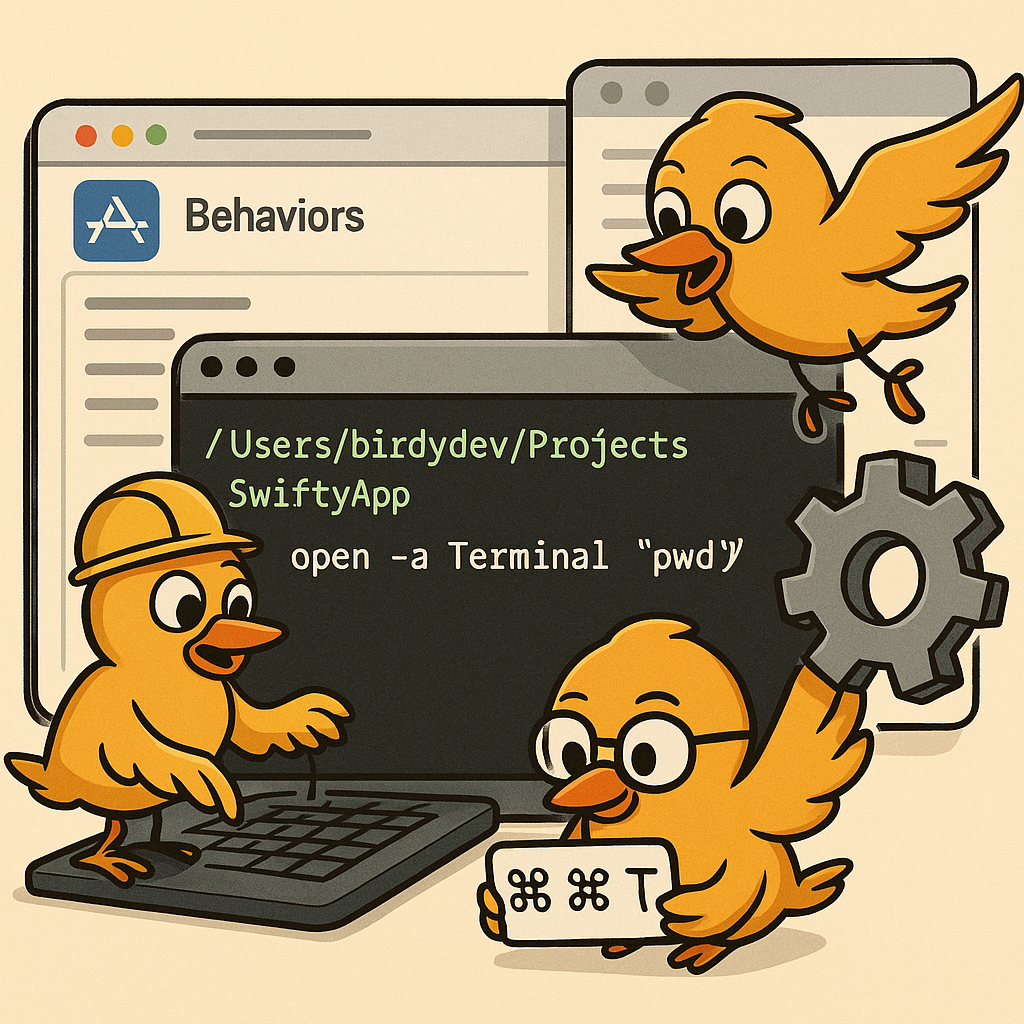
Add to Xcode
Once we have our script and it has permission to be executed we can add it as part of the Xcode behaviors to open our terminal.
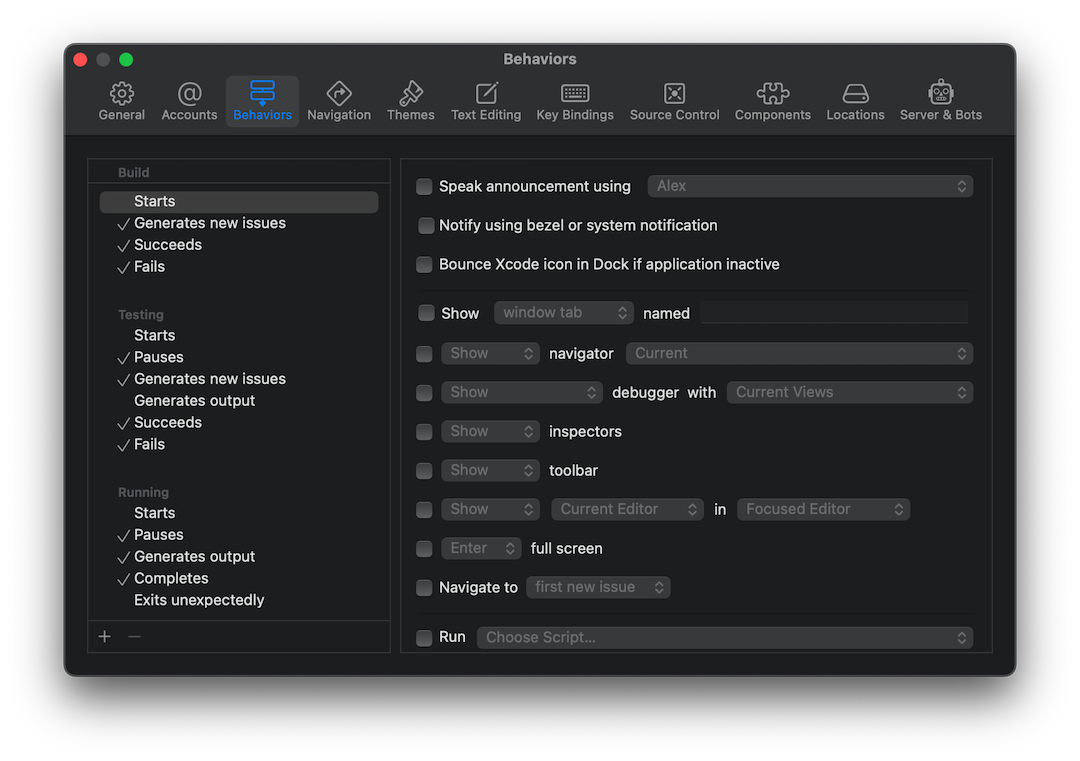
Xcode Behaviors
To make it simple, the Xcode behaviors are steps or as the name says behaviors that the IDE is going to do when a specific scenario occurs, a simple example can be when your build succeeds you can make Xcode play a sound.
To see our behaviors (Xcode already has default ones) go to Xcode preferences on the menu click on Xcode -> Preferences or with the shortcut ⌘ + ,.
On the preferences, screen click on Behaviors tab at the top.
Adding a custom behavior
- On the left section on the bottom tap on the + button to create new behavior.
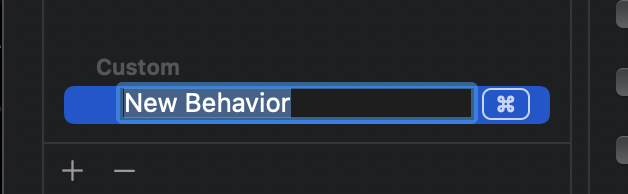
- The next 2 things you need to do is to give a name to the behavior and the shortcut you want to use to trigger this behavior.
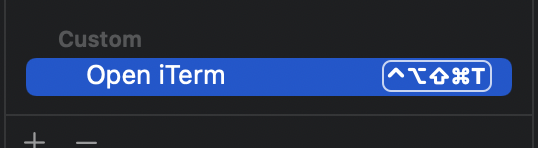
- On the right side scroll to the bottom to be able to select a script to run, enable the Run checkbox and click on Choose a script, it will open a checkbox, if it is the first time, you will see the same text again, click on it and look for your script and select it.

We’re done
You can open a project and use the shortcut you set and boom! you’ll see how your terminal opens on the current project path!
Conclusion
As I said at the beginning, opening a terminal and locating your project might not be hard to do, but doing it every time is tedious, so this is a way we can make this faster, I hope this post helps you, #HappyCoding 👨🏾💻!.